I have a fun little tutorial to show you guys. You see, I have SO much homework, cleaning, lesson planning, etc. to do that I decided to instead make a wreath. :)
This project ROCKED because it was FREE! I already had ALL of the materials here! And not "had" it, like I spent a fortune and I now have it, but like it was stuff that all should have been thrown away, anyway! (Except the thumbtack and the hot glue sticks.)
There is a fantastic place on campus. In the mysterious Languages and Literature building, with its strange construction and winding hallways, there is one rather obscure hallway, and on a nondescript wall in that hallway is a table with random books, video tapes and cassette tapes. All free. Sometimes the table is bare. Other times it is piled high with books and other things. The other day, as I was wondering down this hallway I noticed it had a few books on it, so, I grabbed them up.
Today, as I procrastinated everything I needed to accomplish, I decided it was time to do something with these books. I decided on a wreath.
What you need:
A book to tear and cut apart
Scissors
Hot glue gun
Hot glue (I think I used 2 to 2 1/2 of the small sticks)
Some fabric (how much depends on how big you want your bow)
So, here's how it's done:
I began by selecting a random book for this project.
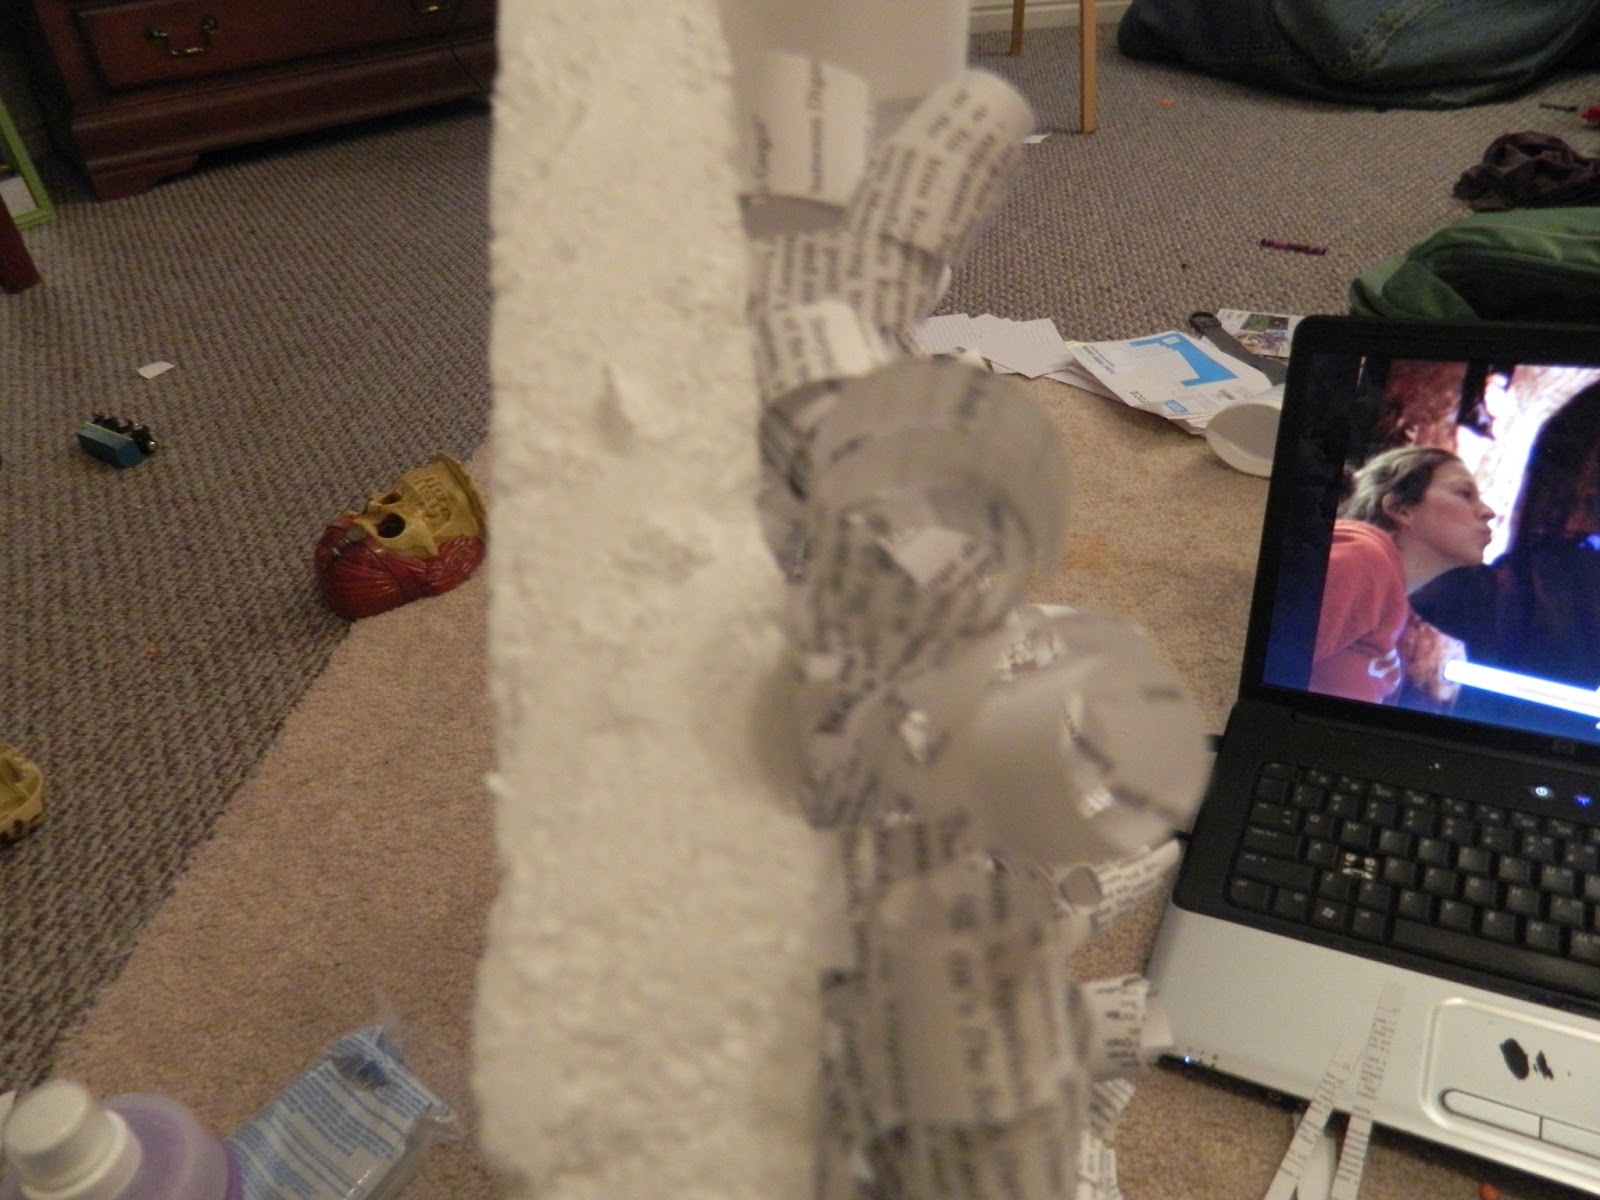
I then took the Styrofoam from the box my new bread maker came in, and I cut it down to size with a rather dull kitchen knife. I would recommend using something a little sharper and easier to use, but we all work with what we have :)
(And, in case you are wondering, that is "NEWSIES" on in the background.Shamelessly, "Enchanted" was on while I cut the paper. A little sing-along music helps with crafting, I have found.)
Next, I ripped pages from the book.
Then, cut the pages in to strips. The first few I cut, I felt were too wide. They didn't look very good, so be sure and cut rather narrow strips.
After that, I curled the paper. You know how you curl curling-ribbon with scissors? Well, you do the same thing EXCEPT you do not open the scissors and instead use the dull back of the scissors.
Then, you begin gluing!
I learned a good lesson! Start with gluing the INSIDE edge of the wreath, as in, IN the opening. Next, do the outer SIDES, and do the FRONT LAST. This way, you don't smash the curls while doing the other parts. Silly me, I was so excited to make it I just started sticking them on the front. Oops! :)
(In the background on the computer? I am uploading pictures and that is a picture of me kissing Nacho Libre. Check out my facebook page to see it :) )
Something else I learned as I went along was, when you are gluing the curls close to the edges, fold the paper around the corner. This not only hides the styrofoam, it also ensures all openings are filled in so you don't have empty spaces.
Once all the curls were on, I looked for my ribbon to put around it, but I couldn't find it! :( But that is okay, because I rummaged through my scraps of fabric and found this from last spring. I LOVE it! I cut one thick strip and wrapped it LOOSELY around the top of the wreath. I opted not to glue the fabric to the wreath because I might want to change the fabric later (in fact, I already have the fabric picked out! lol Also courtesy of my scrap box). So, I glued the ends of the fabric together instead to make a loose loop around the wreath.
Then, I cut a triangle of the same fabric. NOTE: I COULD have just made a bow at the top of the ribbon with the same piece of ribbon, but since I was using scraps, I didn't have one long piece long enough to make the loop and tie it.
I folded the top down and both sides on to the back and secured it with a dab of glue. I then pinched the middle and wrapped a small strip of fabric around the middle and glued it down to the back of the bow.
I stuck a thumbtack on the inside of the loop through the back side of the loop and hung it on the wall!
So, what do you think? Is this a project you would be interested in trying out?